
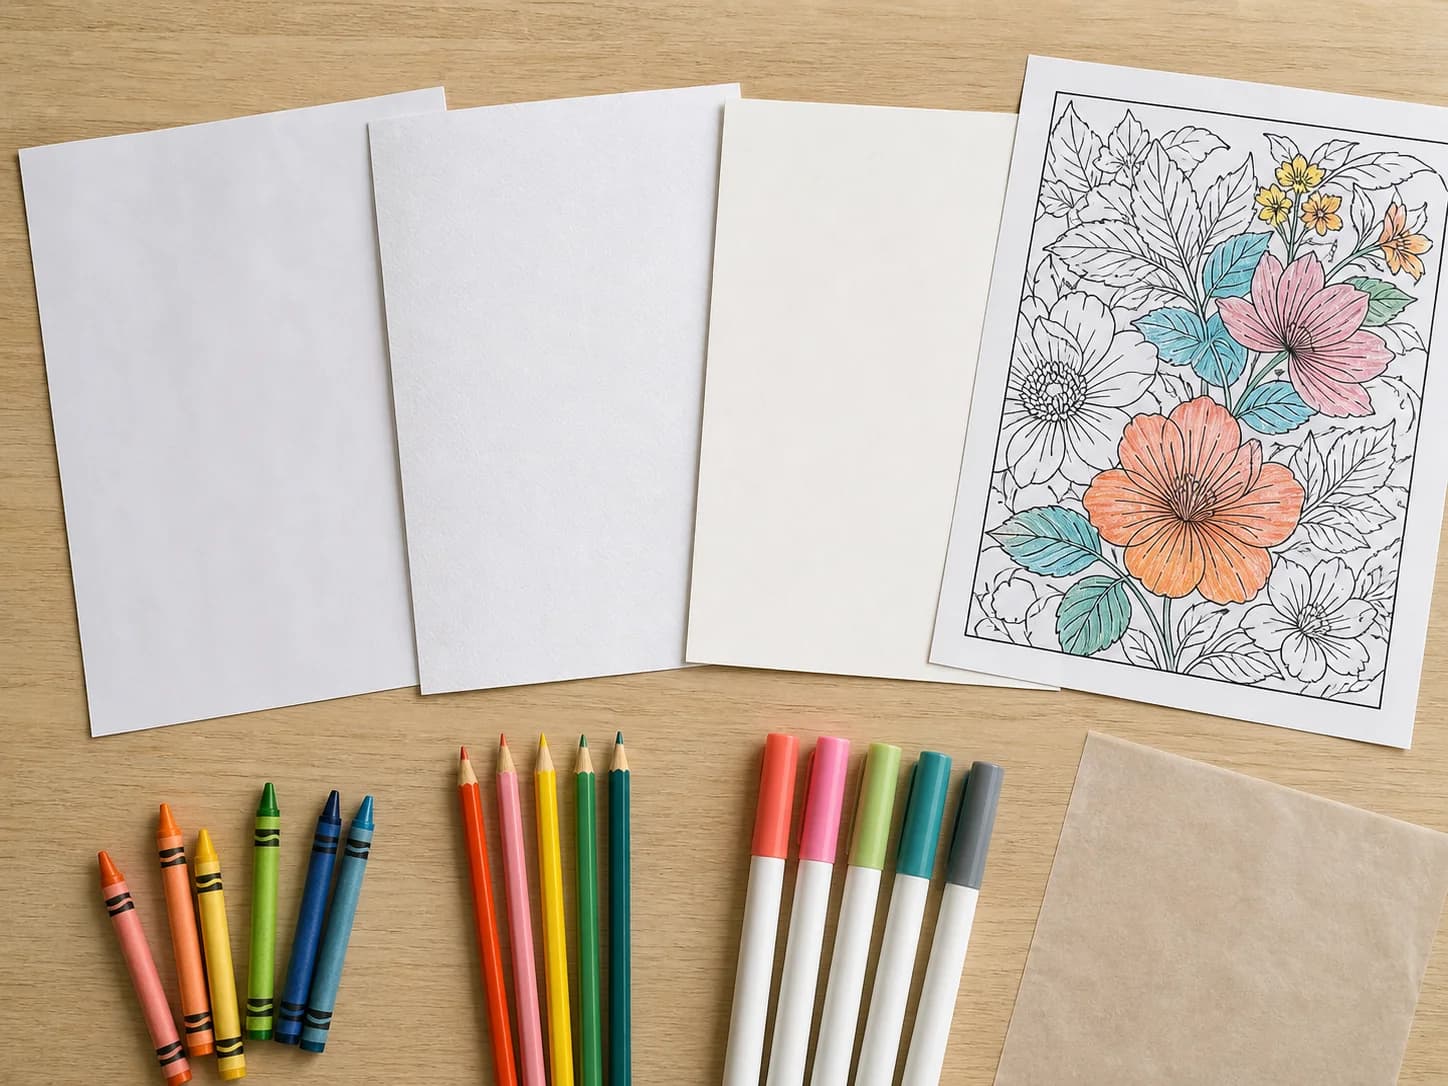
Quick answer
For everyday coloring, start with bright white 24-32 lb text paper, roughly 90-120 gsm. Use heavier compatible paper around 120-160 gsm for water-based markers, smooth Bristol or marker paper for alcohol markers, and watercolor paper only when both the wet medium and printer can handle it.
- Crayons and everyday colored pencils do not require cardstock.
- Gsm is easier to compare across paper types than a pound label by itself.
- Thicker paper can still bleed with alcohol markers, so always use a barrier sheet.
- Check the printer manual before loading cardstock, Bristol, or watercolor paper.
Choose paper by the coloring material
The tool touching the page matters more than the price of the paper. Dry materials need enough surface texture to hold color. Wet or solvent-based materials need a sheet that stays usable while absorbing liquid. The printer then sets the upper limit on thickness and surface type.
| Coloring material | Practical starting paper | What to watch |
|---|---|---|
| Crayons | 75-120 gsm copy or premium printer paper | Very slick paper may feel less grippy. Thin sheets can dent under heavy pressure. |
| Colored pencils | 90-160 gsm paper with a little tooth | More texture holds layers but can make fine printed lines look softer. |
| Water-based markers | 120-160 gsm smooth paper or light mixed-media paper | Repeated strokes can pill or soak through. Keep a barrier sheet underneath. |
| Alcohol markers | Dedicated marker paper or smooth Bristol that the printer accepts | Bleed-through can happen even on heavy paper. Never rely on thickness alone. |
| Gel pens and fineliners | 100-160 gsm smooth, uncoated paper | Rough fibers can catch fine tips and spread wet ink. |
| Watercolor pencils or light paint | Watercolor or mixed-media paper approved for the printer | Water can buckle light paper. Many home printers cannot feed heavy watercolor stock. |
Understand gsm, pounds, and paper thickness
Gsm means grams per square meter. It describes the mass of a square meter of that paper, so it is useful for comparing packages across regions and paper categories. A higher gsm usually feels more substantial, but coatings, fibers, and manufacturing can make two papers with the same gsm feel different.
Pound labels are less direct. The number can refer to the weight of a manufacturer-defined ream before it is cut, and text, bond, index, and cover stocks use different base sheet sizes. That is why 80 lb text paper and 80 lb cover paper are not equally thick. When both labels are present, compare gsm first and then check whether the product is described as text, cover, index, cardstock, Bristol, or watercolor paper.
| Gsm band | Typical feel | Common coloring use |
|---|---|---|
| 75-90 gsm | Ordinary copy paper | Quick crayon pages, classroom batches, pencil practice |
| 100-120 gsm | Premium printer paper | Everyday crayons, colored pencils, light marker use |
| 140-160 gsm | Light cardstock or mixed-media feel | Water-based markers, layered pencils, pages for display |
| 200-270 gsm | Heavy cardstock or Bristol | Keepsakes, pen work, some alcohol-marker techniques |
| 300 gsm and above | Watercolor-card weight | Water-based media when the printer explicitly supports the sheet |
Match surface texture to the tool
Paper weight is only one part of the choice. Tooth is the small-scale texture that catches pigment. A little tooth helps colored pencil and crayon build richer color, while a very smooth surface helps markers, gel pens, and fineliners travel without catching fibers.
Uncoated bright white paper usually gives black line art strong contrast. Cream paper can feel softer but changes every added color. Glossy photo paper is rarely a good coloring surface because wax, pencil, and many markers do not behave predictably on its coating.
For colored pencils
Choose a smooth-to-medium surface. Too little texture can limit layering; too much texture leaves visible white valleys unless the colorist presses hard. Print one detailed design to confirm that the paper texture does not break up thin outlines.
For markers and pens
Choose a smoother sheet. With alcohol markers, dedicated marker paper may be thin by design because its coating controls ink movement. Smooth Bristol is sturdier, but it may absorb more ink. In either case, place scrap paper underneath and test for line smearing before coloring a full page.
Check what your printer can safely feed
A paper recommendation is useful only if the printer can feed it. Look in the printer manual or support page for maximum paper weight, supported media types, and the preferred tray. Some home printers handle light cardstock through a rear or manual feed but curl or jam the same sheet through a lower cassette with a tight paper path.
- Use the rear or manual feed when the manufacturer recommends it for thick paper.
- Load one test sheet before filling the tray.
- Set the media type to Heavy, Cardstock, Matte, or the closest supported option when available.
- Keep the paper flat and dry. Curled sheets and damp art paper are harder to feed.
- Do not force watercolor paper, coated craft paper, or handmade paper through a printer that does not list it as supported.
Run a useful one-sheet test
A test should answer more than whether the page comes out of the printer. Use one design with both broad spaces and fine details, then test the actual coloring materials planned for the activity.
- Print one page in black and white or grayscale at normal quality.
- Check whether the border is complete and the fine outlines look solid.
- Color a broad area, a small area, and one place where several lines meet.
- For markers, make two passes in the same area and inspect the back of the sheet.
- Wait for wet media to dry, then rub a clean finger across the printed outline to check for smearing.
- Write the paper name and printer setting on the back so a successful combination is easy to repeat.
Choose differently for classrooms and keepsakes
For a classroom set, reliability and cost usually matter more than maximum thickness. Standard or premium printer paper works with crayons and pencils, stacks neatly, and feeds quickly. Put scrap sheets at marker stations rather than printing every activity on cardstock.
For a gift, display, or page someone plans to work on over several sessions, heavier paper can feel better and resist wrinkling. Choose the paper from the medium first, confirm printer compatibility, and print only the copies that need the upgrade.
A practical two-paper setup covers most families and classrooms: one ordinary ream for everyday pages and one smaller pack of compatible 120-160 gsm paper for markers or special projects.
Frequently asked questions
Is cardstock best for every coloring page?
No. Cardstock costs more, can jam some printers, and may be unnecessarily smooth or stiff for crayons. Use ordinary or premium printer paper for everyday dry materials and move heavier only when the medium or finished use benefits.
What paper is best for alcohol markers?
Use dedicated marker paper for controlled blending or smooth Bristol for a sturdier sheet, provided the printer accepts it. Alcohol ink can bleed through both thin and heavy paper, so always place a barrier sheet underneath.
Can I print on watercolor paper?
Only when the printer manual supports that weight and surface. Use a rear or manual feed when instructed. Watercolor paper may shed fibers, curl, or exceed a home printer's thickness limit.
Does heavier paper use more printer ink?
Weight alone does not determine ink use. Surface coating and the selected media setting can change how much ink the printer applies. Run one test and use normal quality unless the outlines need improvement.